Creating groups and adding participants
Creating groups and adding participants
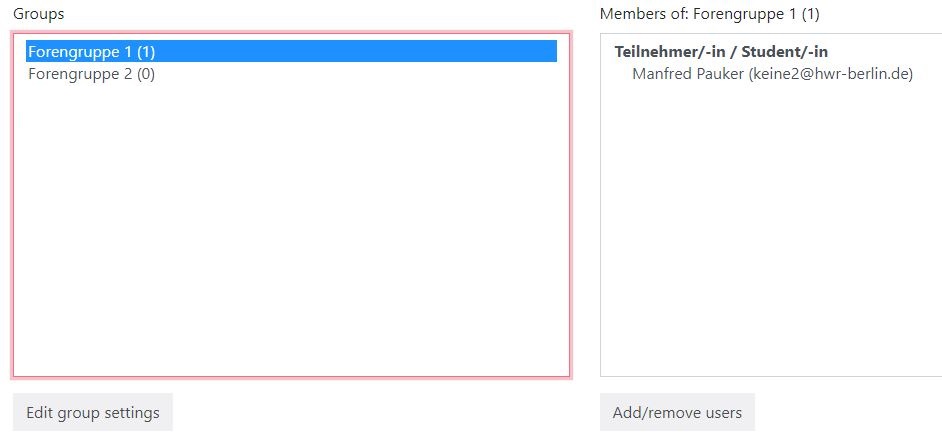
In order to use the group feature in Moodle, groups must first be created and students must be assigned to the groups. This has already been explained in more detail in the previous “Moodle Quick&Easy” tutorials on “Group Management”.
Information on how to create groups can be found at the following links:
Activating the group function in the message forum
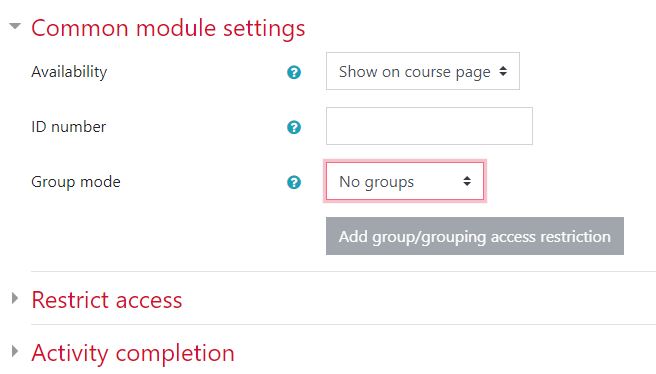
To be able to send group-specific messages, the group function must be activated within the message forum. To do this, you need to open the “common module settings” tab in the forum settings and select a group mode.
Besides the option “no groups” there are two more modes available:
![]() separate groups: „Group-specific posts are only visible for members of the respective group“
separate groups: „Group-specific posts are only visible for members of the respective group“
![]() visible groups: „Group-specific posts are visible to all, but participants of other groups have read-only permissions“
visible groups: „Group-specific posts are visible to all, but participants of other groups have read-only permissions“
If the editing mode is switched on, the group mode can also be changed via the group icon, which is displayed behind the respective activity in the course. The different groups are shown here as small figures. With a click on the icons the group mode switches between the modes.
If the messages are to be visible only for a respective group, “Separate groups” must be selected.
Composing the group specific message
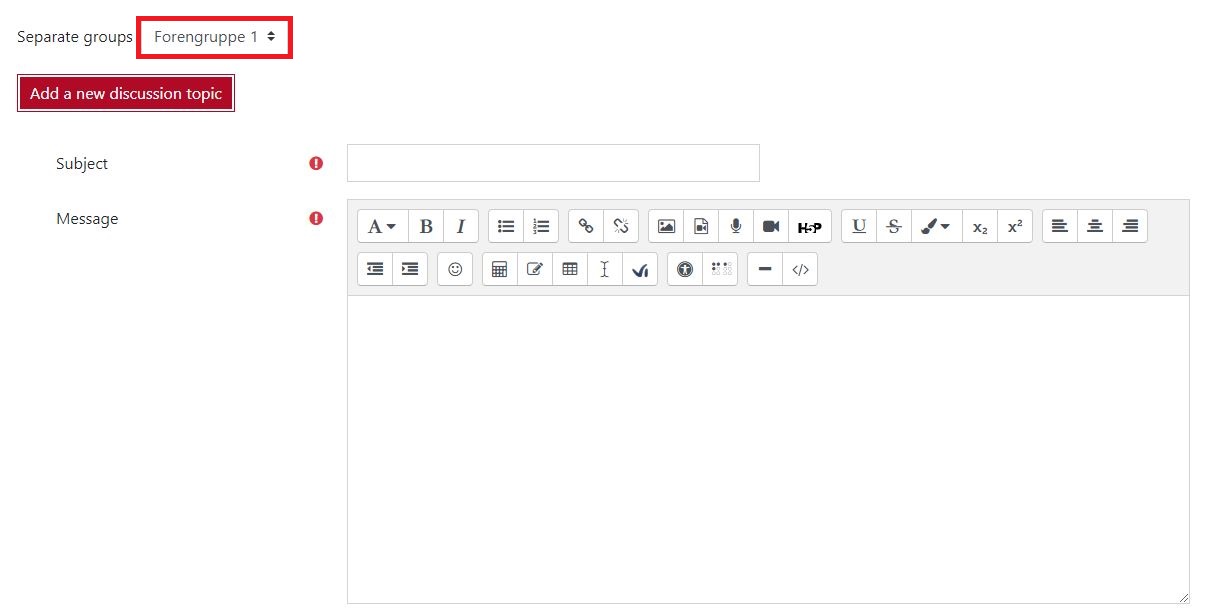
Once a group mode is selected and you are in the message forum, you can select a specific group using the group filter.
By pressing the “Add new topic” button, you can now compose your message to the previously determined group.
Teacher view
Lecturers still have access to all posts, but can filter posts by group if desired.
Student view
Students only have access to their group-specific contributions here. Contributions from other groups are not visible to students.


0 Comments